Configuring Smart Card Authentication to the BIG-IP Traffic Management User Interface (TMUI) using F5's Privileged User Access Solution
As promised in my last article which discussed configuring the BIG-IP as an SSH Jump Server using smart card authentication, I wanted to continue the discussion of F5's privileged user access with additional use cases. The first follow on article is really dedicated to all those customers who ask, "how do I use a smart card to authenticate to the BIG-IP TMUI?" While yes, I did provide a guide on how to do this natively, I'm here to tell you I think this is a bit easier but don't take my word for it. Try them both!
To reduce duplicating content, I am going to begin with the final configuration deployed in the previous article which has been published at https://devcentral.f5.com/s/articles/configuring-the-big-ip-as-an-ssh-jump-server-using-smart-card-authentication-and-webssh-client-31586. If you have not completed that guide, please do so prior to continuing with the Traffic Management User Interface (TMUI). With that, let's begin.
Prerequisites
- LTM Licensed and Provisioned
- APM Licensed and Provisioned
- iRulesLX Provisioned
- 8Gb of Memory
- Completed the PUA deployment based on my previous guide.
https://devcentral.f5.com/s/articles/configuring-the-big-ip-as-an-ssh-jump-server-using-smart-card-authentication-and-webssh-client-31586
Create a Virtual Server and BIG-IP Pool
Now you may be asking yourself why would I need this? Well, if any of you have attempted this in the past you will notice you will receive an ACL error when trying to access the management IP directly from a portal access resource. Because of this, we will need to complete this step and point our portal access resource to the IP of our virtual server.
- Navigate to Local Traffic >> Virtual Servers >> Click Create
- Name: BIG-IPMgmtInt
- Destination Address: This IP is arbitrary, select anything
- Service Port: 443
- SSL Profile (Client): clientssl
- SSL Profile (Server): serverssl
- Source Address Translation: Automap
- Scroll until you reach the Default Pool option and click the + button to create a new pool.
- Name: BIG-IP
- Health Monitors: HTTP
- Address: Management IP address
- Service Port: 443
- Click Add and Finished
- The pool should be selected for you after creation.
- Click Finished
Creating a Single Sign On Profile for TMUI
- Navigate to Access >> Single Sign On >> Forms Based >> Click Create
- Name: f5mgmtgui_SSO
- SSO Template: None
- Headers Name: Referer
- Headers Value: https://IPofBIGIPVS/tmui/login.jsp
- Username Source: session.logon.last.username
- Password Source: session.custom.ephemeral.last.password
- Start URI: /tmui/login.jsp
- Form Action: /tmui/logmein.html
- Form Parameter For User Name: username
- Form Parameter For Password: passwd
- Click Finished
Creating a Portal Access List and Resource
- Navigate to Access >> Connectivity / VPN >> Portal Access >> Portal Access Lists >> Click Create
- Name: BIG-IPMgmtIntPA
- Link Type: Application URI
- Application URI: https://IPofBIGIPVS/tmui/login.jsp
- Click Create
- After the Portal Access List is created, click the Add button in to add a resource.
- Link Type: Paths
- Destination Type: IP
- Destination IP Address: IP of the BIGIP virtual server
- Paths: /*
- Scheme: https
- Port: 443
- SSO Configuration: Select the SSO profile created previously in this article
- Click Finished
Assign the new Portal Access Resource
- Navigate to Access >> Profiles / Policies >> Click the Edit button in the row of the PUA Policy created using the previous guide.
- From the Admin Access Macro click Advanced Resource Assign
- Click the Add / Delete Button from the Resource Assignment page.
- Select the Portal Access tab and place a check mark next to the portal access resource created in the previous steps.
- Click Update
- Click Apply Access Policy
Validation Testing
- From a web browser navigate to webtop.demo.lab.
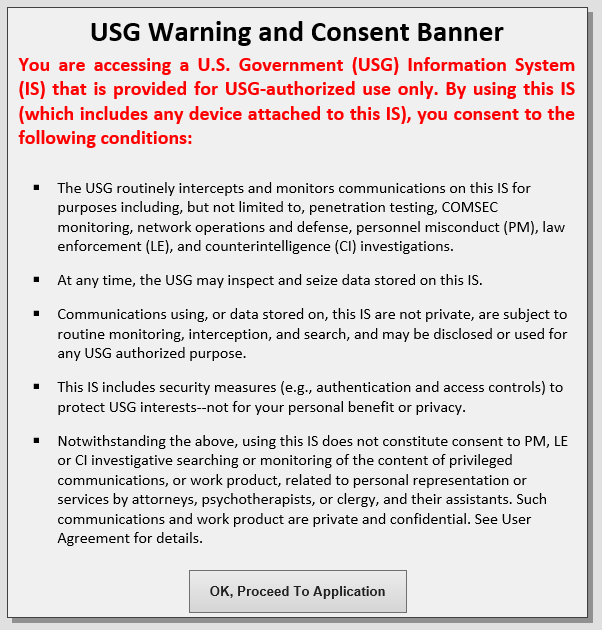
- Click OK, Proceed to Application
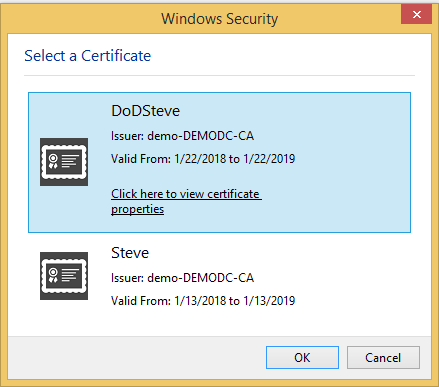
- Select your user certificate when prompted and click OK
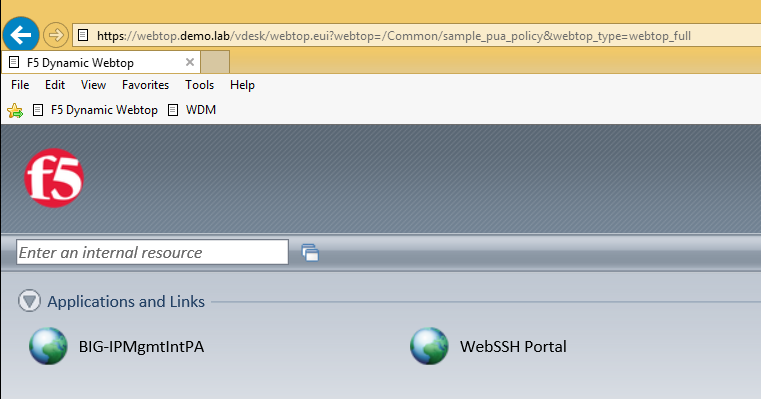
- From the Webtop, select the portal access resource you created in previous steps.
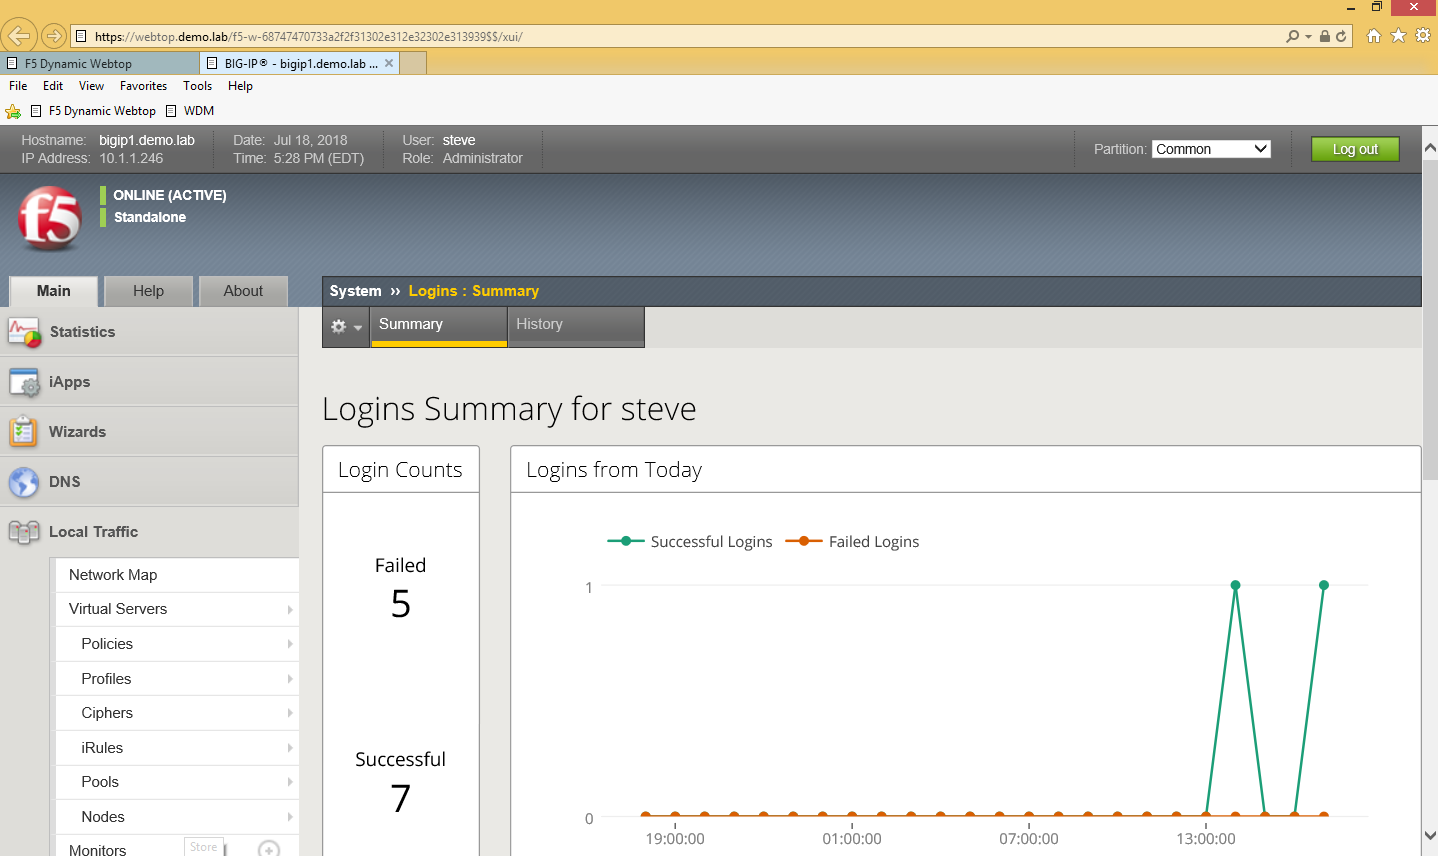
- If successful, you will be redirected to the BIG-IP TMUI as shown below.
Now you have successfully configured SSO to the BIG-IP TMUI using forms based authentication. I'm sure many of you are wondering how it is possible to perform forms based authentication when I provided no password in this entire article. This is possible because of the ability for the F5 PUA solution to generate a one-time password on behalf of the user and present it to the application. Thanks for following and I will continue with additional use cases and capabilities of the F5 BIG-IP.
Appendix
If for any reason you attempt to logout of TMUI and are logged back in immediately, it is likely because of middle ware you have in place on your workstation though no need to worry, there's an iRule for that! Simply add the following iRule to the Webtop virtual server and you will be good to go.
when HTTP_REQUEST { #log local0. "[HTTP::uri]" switch -glob [HTTP::uri] { "*/tmui/logout.html" { HTTP::respond 200 content "Logged Out. Close Browser." } default { } }
}


